

Village Kit is a modular system for building physical things with a focus on peer production and circular economies. 🏡☀️🌱 See also: @madewithGridKit
- Tweets188
- Following74
- Followers84
- Likes25






ALT The image shows a partially assembled wooden frame in a workshop. The frame is constructed from perforated wooden beams joined together with metal brackets at the corners. It forms a rectangular, three-sided structure and is mounted on small caster wheels, making it mobile. The background features various woodworking tools, materials, and storage shelves. An orange high-visibility vest and a stack of yellow metal brackets are visible to the left of the frame, indicating an active workspace. Sunlight shines through the workshop, casting shadows of the frame on the floor.

ALT The image shows a wooden workbench with two open shelves beneath the tabletop. The frame is constructed from perforated beams, with evenly spaced holes along the edges. The workbench has a flat plywood top and is set on four caster wheels, making it mobile. The shelves are made of plywood, supported by the perforated beams on the sides. The workbench is placed indoors on a wooden floor, near a windowsill with potted plants and a book. The design is simple and functional, suitable for storage or workspace use.
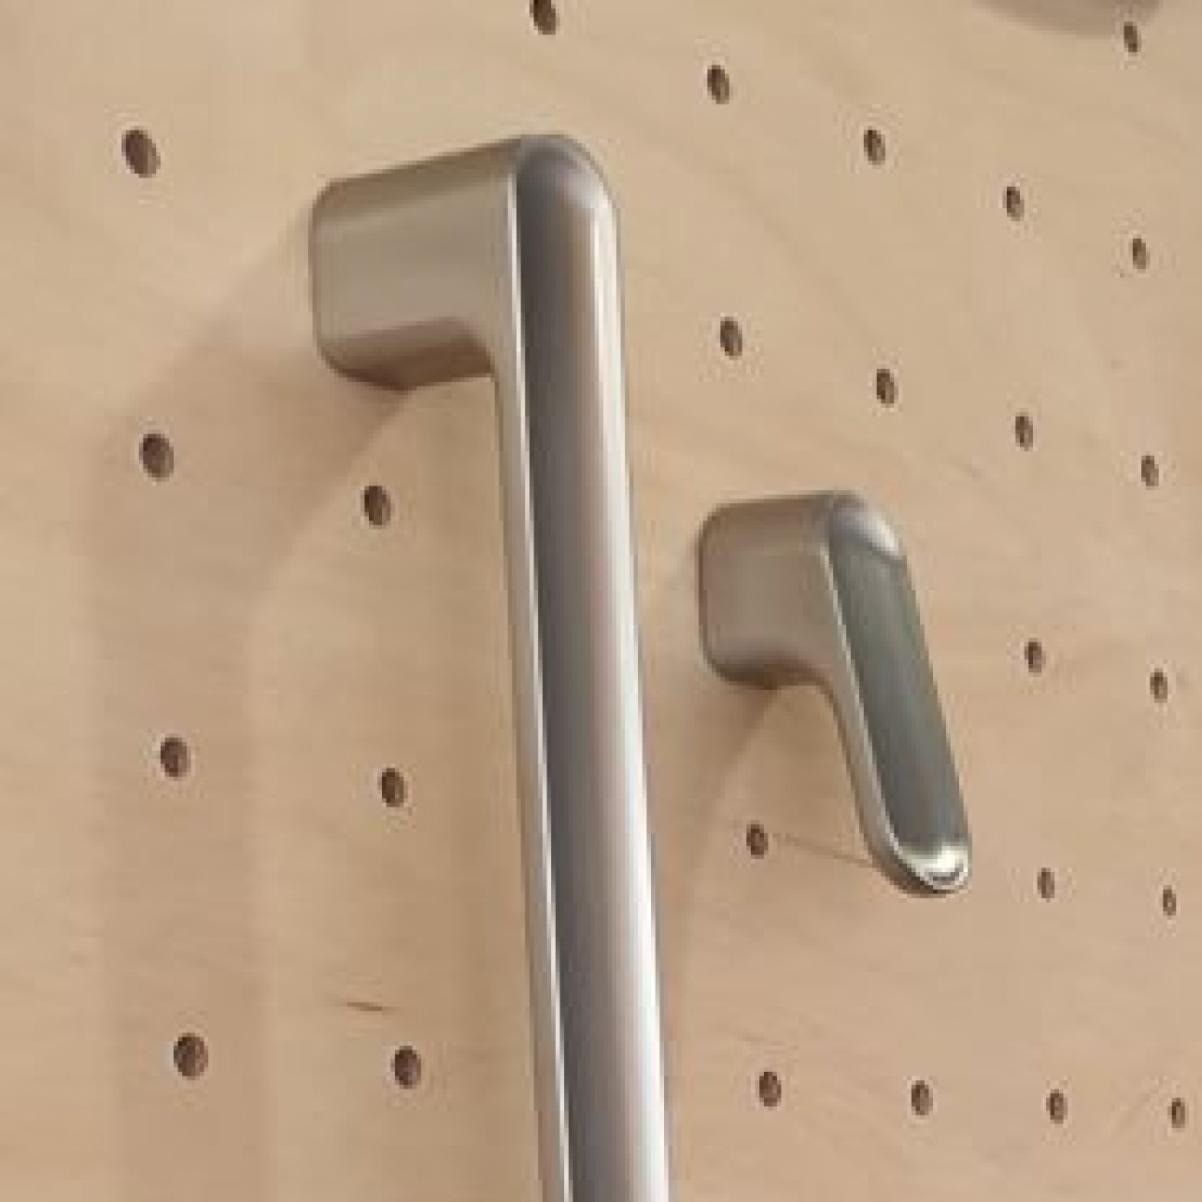
ALT The image shows two metal handles mounted on a perforated wooden panel. The panel has evenly spaced holes arranged in a grid pattern. The handles have a brushed metal finish and rounded edges, with one larger handle on the left and a smaller one on the right. The handles are positioned vertically, attached to the wooden surface.

ALT The image shows a close-up of a black hinge attached to two perforated wooden beams. The hinge is secured with four silver screws, two on each side, and connects the two wooden pieces. The wooden beams are light-colored with evenly spaced holes along their lengths. The hinge is positioned in the center, allowing the beams to move or fold. The background is a soft green, and the image focuses on the clean and functional installation of the hinge.

ALT The image shows a rectangular box made of perforated wooden panels, with evenly spaced holes covering the sides. The top of the box is covered with a folded grey felt or fabric, suggesting it might be used as a cushioned surface or seat. There are brass fasteners securing the panels, and a brown rope handle is attached to one side, likely for carrying or moving the box. The box is placed on a white, slightly worn floor, and the overall appearance suggests it is a DIY or custom-made storage or seating unit.

ALT The image shows two pieces of perforated wood sheets, one light and one dark, placed next to each other. Each sheet has evenly spaced holes drilled in a grid pattern. On the darker wood sheet, there is a yellow hand sander with a metal clip holding a sanding pad in place. The contrast between the light and dark wood sheets highlights different finishes.

ALT The image shows a large, folded paper laid out on a wooden table. The paper features a printed grid design, with intersecting lines forming a series of small squares and circles. The paper is labeled "GRID KIT" in the lower right corner, accompanied by a small, colorful icon resembling a cube. The grid is a template or guide for marking plywood panels with a 40mm grid.

ALT The image shows six small caster wheels with metal frames and rubber tires, placed on a striped fabric surface with shades of pink, red, and purple. The casters have threaded stems for attaching them to a surface. Next to the casters is a perforated wooden beam, featuring evenly spaced holes, with one more caster wheel connected in a hole.

ALT A DIY workbench is placed in a well-lit workshop. The workbench features a sturdy wooden top supported by a simple frame made of perforated wooden beams. A white cabinet with open shelves is integrated into the lower part of the workbench, containing plastic containers of hardware and tools. Leaning against the cabinet is a toolbox and a green panel. A corkboard attached to the back of the bench has various papers pinned to it, while a small shelf on the bench holds a tape measure and a triangular tool. The background shows a cluttered workshop with materials like wooden panels, brooms, and stacked supplies.

ALT A more streamlined version of the workbench in an indoor/outdoor workspace at night. The setup remains similar with the wooden tabletop and integrated shelving cabinet holding multiple storage containers. A laptop sits on top of the bench. A green toolbox and black DeWalt case are positioned against the bottom shelf, while a pegboard with attached clips stands on the right side, holding a drill and other tools. The setup appears mobile, with small caster wheels underneath the base. The area is dimly lit, and the dark outdoors is visible beyond the workspace.

ALT A DIY composting toilet setup inside a simple, makeshift shelter. The walls are made of hessian (burlap) with wooden grid beam framing, and the roof is lined with colourful floral fabric. The composting toilet consists of a white box with a wooden seat, and a plastic container underneath for collecting liquid waste. There are two white buckets with lids to the left, likely for collecting compost material and waste. On the right, there's a small black shelf with essential items like toilet paper, hand sanitiser, spray cleaner, and a storage box. A large bag of sawdust is leaning against the wall, used as cover material. Two small potted succulents hang on the left wall for a homely touch. The floor is grass, as this is outdoors at a festival in New Zealand.

ALT A sealed cardboard box labeled "Original Prusa MK4 Kit" is placed on a wooden table. The box features black line drawings of the 3D printer and its components, along with the Prusa logo and branding. This is the unopened packaging of the 3D printer kit, marking the start of the assembly process.

ALT The partially assembled frame of the Prusa MK4 3D printer is on a table. The frame includes the black metal structure with orange brackets and some mounted components. The assembly is still in an early stage, with only a few structural parts attached. The surrounding area shows plastic bags of screws, wrenches, and other assembly tools. A laptop displaying the step-by-step instructions for the assembly process is also visible.

ALT The 3D printer frame is now more complete, with additional components installed, including the X-axis rods and wiring. The laptop next to it continues to show the instructional video for the assembly process. More small tools and parts are spread around the table, indicating the assembly is progressing steadily. Some additional pieces, such as zip ties, screws, and wire cutters, are in use as the frame becomes more complex.

ALT The 3D printer frame is nearly fully assembled, featuring the black metal frame, orange components, and several motors and wiring already attached. The assembly is in its final stages, with small remaining parts laid out on the table, such as screws and a timing belt. The laptop still shows detailed assembly instructions, helping with the final steps of construction.


