

Software Eng. Sharing my dev journey. On a mission to be part of something greater than myself & having fun in the process. React. Javascript. Java. Web3.
Joined May 2022
- Tweets156
- Following111
- Followers37
- Likes53



Pinned Tweet
#100DaysOfCode Day 7: Today i built a youtube clone using ReactJS. Here's a simple 5 step thread on how to do the same.🧵

I used react-router-dom for the page routing, react-social-media-embed for the instagram embded and firebase for user authentication & database storage! Hope you like it. :)
1
#100DaysOfCode Day 12: Took some time away for a much needed break but i'm back. Today i built an Instagram clone in ReactJS. This was a challenging, but fun build!😁 Still working on some additional features.
And that's about it for the logic behind the code. I'd like to add more functionality to it but i thought i'd share this much for now. I hope you enjoyed it! Thanks for making it to the end and i'll catch you next time. :)
2
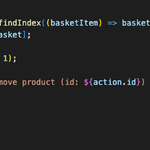
4. Remove items from the basket
This action is also triggered by a dispatch and will
look for a match between the item selected for removal and all items in the basket array. When a match is found, that item is then removed from the basket array using the splice method.

1
1
3. Calculate the total value of the basket
As we add items to our basket, we need to keep track of the value of all items added or removed. To do that, let's define a function that will iterate through the basket array & keep track of the basket's value with the reduce method.

1
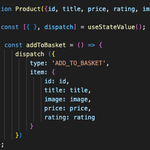
2. Add products to your basket
Once the user has logged in, they can add products to their basket by clicking a button which calls "addToBasket". That function will send the product into the data layer and add it to our current basket.

1
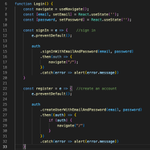
1. Login Page:
So the logic for the logic page will call signIn to login a user & register to create a new user. Once successful, both functions will take the user to the home page using the navigate function from react-router-dom.

1
Dependencies: I used Firebase for the user authentication, React Context API for the state management and React Router for the dynamic routing.
1
#100DaysOfCode Day 11: I spent the last couple of days building an Amazon clone in React. Here's a quick 4 step overview of how it works. 🧵

And that's about it! This build was pretty comprehensive so i couldn't go into as much detail as i would have liked but i hope this helps to paint a decent picture of how it works. Thanks for reading through! :) Till next time.
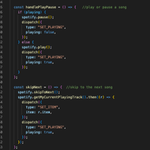
Step 7: Add functionality to the UI.
We created an object of type SpotifyWebApi() in step 4 so we will retrieve that object from the data layer and use it to call functions that allow us to play, pause, skip and skip previous songs, all from spotify itself. Cool, right?

1
2
Step 6: Build the UI.
1. Header - for the search bar, profile picture and username.
2. Sidebar - to show all the sidebar options.
3. SongRow - to show the individual songs in a playlist.
4. Footer - to show the music player and allow us to perform controls on the music.
1
Step 5: Use the access token to make API calls.
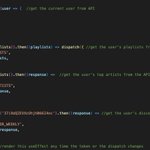
Now that we have the access token in local state, let's make calls to the Spotify API and retrieve all the data we'll need inside of our application such as, the current user, their playlists, their discover weekly..etc

1
Step 4: Store the access token.
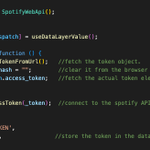
Once authorisation is granted, the Spotify server issues an access token, which is used to make API calls on behalf of the user. To avoid prop drilling, let's use React Context API to store the token in the data layer instead.

1
Step 3: Build the Login page.
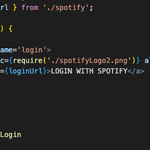
The UI for this is simply a logo and a login button which points to the Spotify authentication endpoint described above. From there, the user consents to the clone using their data and can log in using their real Spotify account.

1
Step 2: Write logic for the login Url
1. authEndpoint = authenticate the user in spotify.
2. redirectUri = bring the user back to our app after successful login.
3. clientID = spotify identifier.
3. scopes = the functionality that we plan on pulling from the spotify API.

1
Sidebar: Dependencies.
We'll be using the Spotify API for authentication & pulling in all the relevant account details such as Account name, profile picture, playlists, discover weekly...etc, Material UI for the icons and React Context API for state management.
1